Thursday, August 13, 2020


Aura if else in lightning

Aura:if is used to display the content based on condition.If the condition is true the content is rendered.


Syntax:


<aura:if isTrue="{!v.attributeName}">

</aura:if>

Let's see a simple example to understand how to display text based on condition using aura:if,


<aura:attribute name="Test" type="Boolean" default="True"/>
<aura:if isTrue="{!v.Test}">
Hi,The value is true
</aura:attribute>

Now let's take another example to understand aura:if with else,


<aura:attribute name="Test" type="Boolean" default="True"/>
<aura:if isTrue="{!v.Test}">
Hi,The value is true
<aura:set attribute="else">
Hi,The value is false
</aura:set>
</aura:if>


Also aura:if supports or(), end() in isTrue expression,


<aura:if isTrue="{!or(v.attributeName1,v.attributeName1)}"
    Some text to display
    </aura:if>


The above block will rendered the text if one of the attributes is true.

<aura:if isTrue="{!and(v.attributeName1,v.attributeName1)}"
    Some text to display
    </aura:if>
    
The above will rendered the text if both the attribute are true.

 Let's see one more example for aura:if,

STEP 1) Create the lightning component (Name = ifattribute.cmp).


<aura:component >
<aura:attribute name="Test" type="Boolean" default="True"/>
<aura:if isTrue="{!v.Test}">
Hi,The value is true
<aura:set attribute="else">
Hi,The value is false
</aura:set>
</aura:if>
</aura:component>


STEP 2) Create a lightning app.


<aura:application extends="force:slds">
    <c:ifattribute/>
</aura:application>

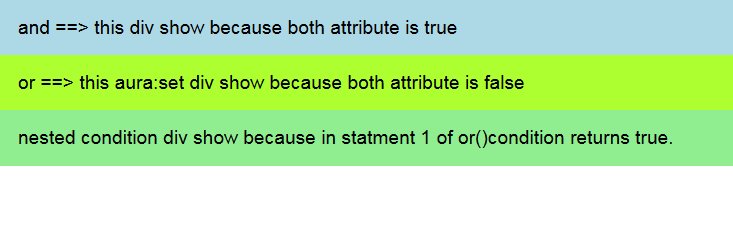
Use multiple conditions in aura:if on lightning component:


TestApp.app

Output-:

use Multiple conditions in aura:if image


Aura:method in lightning component

Till now we have seen how to handle communication between component's using events, now we will see how we can directly call a child component controller method from parent component controller method using Aura:method.

Sample syntax of Aura:method: (Declared in child)

<aura:method name="testMethod" action="{!c.someAction}"

  description="Test aura method with test parameter">

    <aura:attribute name="Test1" type="String" />  <!--optional parameter-->


</aura:method>

Note:  


  • Aura method can have an optional parameters. We use <aura:attribute> tag in Aura:method to declare parameter.


  • We do not need access system attribute in <aura:attribute> tag.


How to call aura:method from parent controller:


childComponentName.auraMethodNameInChildController("Some Value we are passing to child component attribute");


Now let us see the use with simple example,

ParentComp:

<aura:component>

    <aura:attribute name="parentAttributeName" type="String" default="Parent Value"/>

    <p>
 {!v.parentAttributeName}
   </p>

    <c:ChildComp aura:id="ChildComp" />    <!-- Giving id to child comp-->

    <lightning:button label="Go to aura method"
          onclick="{!c.gotoAuraMethod}"/>

</aura:component>

ParentCompController.js

({
gotoAuraMethod : function(component, event, helper) {
     
        var chldComp=component.find("ChildComp");  //  Finding child component
        var res=chldComp.testMethod("From parent");  //   Hitting aura method
        component.set("v.parentAttributeName",res); 
     
     
}
})

ChildComp:

<aura:component>

<aura:method name="testMethod" action="{!c.someAction}"
  description="Test aura method with test parameter">

    <aura:attribute name="childAttributeName" type="String" />

</aura:method>

</aura:component>

ChildCompController.js:


({
someAction : function(component, event, helper) {
               
     var params=event.getParam('arguments');
        if(params)
        {
           var param1=params.childAttributeName;
         
        }
       return param1+"Appended child value";
}
})

Application:


<aura:application extends="force:slds" >
    <c:ParentComp/>
</aura:application>

Output:

**********************************************************************************************************
After previewing application,

Aura:method in lightning component
**********************************************************************************************************


After clicking "Go to aura method" button,


Aura:method in lightning component


**********************************************************************************************************

Friday, March 27, 2020

Quickstart: Sign up, sign in to Azure DevOps

Azure DevOps Services
In this quickstart, you learn how to sign up for Azure DevOps for free, sign in with a Microsoft or GitHub account, create an organization, create a project, and invite your teammates.
Sign up for Azure DevOps to upload and share code in free, unlimited private Git repositories.
Then, connect to your favorite development tool like Eclipse, Xcode, Visual Studio, IntelliJ, or Android Studio to work on apps anytime, anywhere.

Sign up with a personal Microsoft account

  1. Select the sign-up link for Azure DevOps.
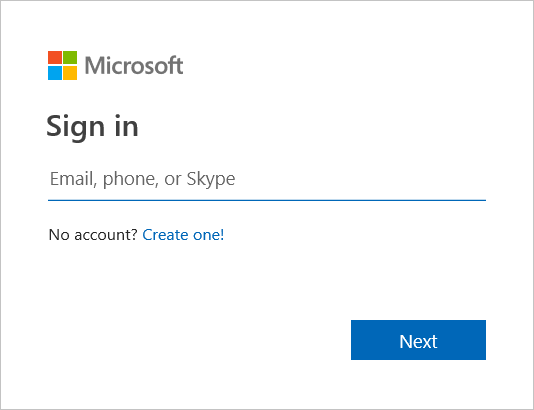
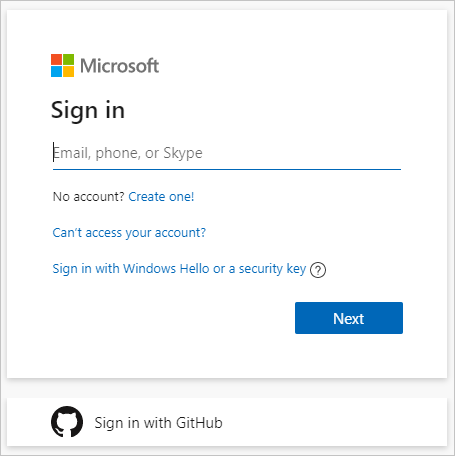
  2. Enter your email address, phone number, or Skype ID for your Microsoft account. If you're a Visual Studio subscriber and you get Azure DevOps as a benefit, use the Microsoft account associated with your subscription. Select Next.
    Sign in with your Microsoft account
    If you don't have a Microsoft account, choose Create one. To learn more, see create a Microsoft account.
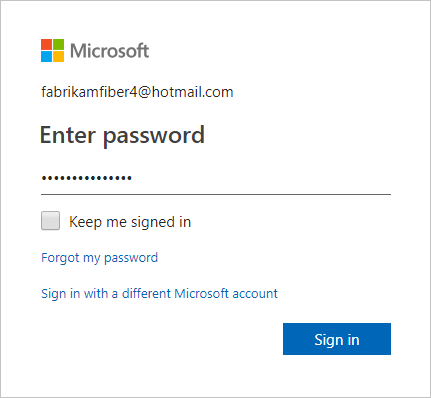
  3. Enter your password and select Sign in.
    Enter your password and sign in
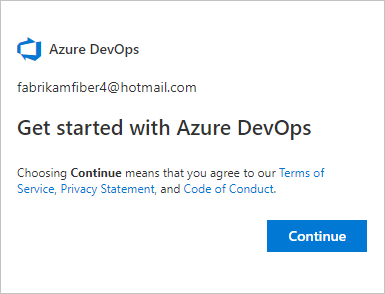
  4. To get started with Azure DevOps, select Continue.
    Choose Continue to sign up for Azure DevOps
An organization is created based on the account you used to sign in. Sign in to your organization at any time, (https://dev.azure.com/{yourorganization}).
You can rename and delete your organization, or change the organization location. To learn more, see the following articles:
If you signed in with an existing Microsoft account, your next step is to Create a project. If you signed in with a newly created Microsoft account, then your project is automatically created and named after your account name. To learn more about managing projects, see Manage projects.

Sign up with a GitHub account

 Important
If your GitHub email address is associated with an Azure AD-backed organization in Azure DevOps, you can't sign in with your GitHub account, rather you must sign in with your Azure AD account.
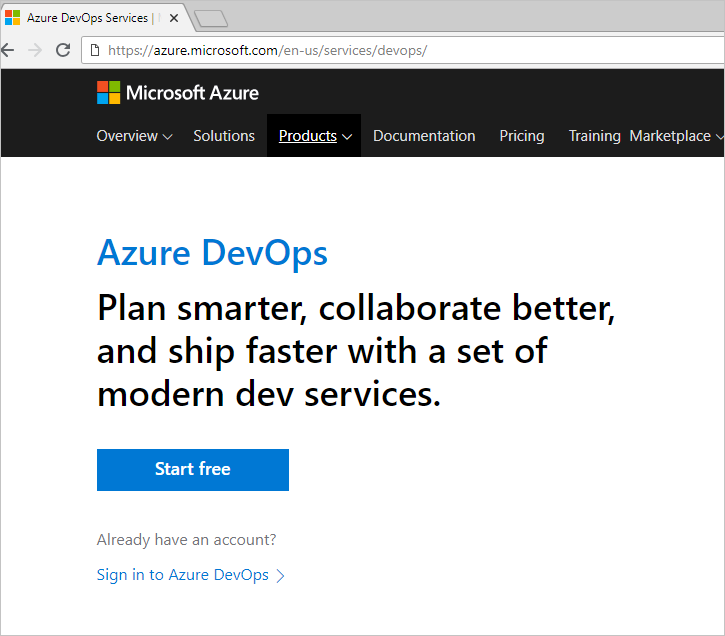
  1. Select the sign-up link for Azure DevOpsStart free with GitHub. If you're already part of an Azure DevOps organization, select Sign in to Azure DevOps.
    Sign up for Azure DevOps
  2. Select Sign in with GitHub.
    Select Sign in with GitHub
    If you have an account in session already, select Use another account. You're taken to GitHub sign-in where you can enter your GitHub user name or email address.
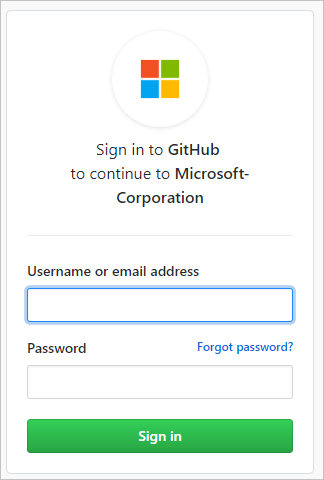
  3. Enter your GitHub account credentials, and then select Sign in.
    Enter GitHub credentials
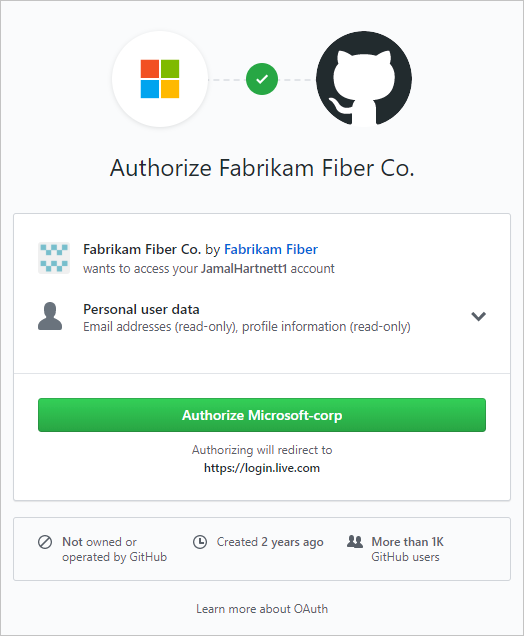
  4. Select Authorize Microsoft corporation.
    Authorize Microsoft
  5. To get started with Azure DevOps, select Continue.
    Choose Continue to sign up for Azure DevOps
An organization is created based on the account you used to sign in. Sign in to your organization at any time, (https://dev.azure.com/{yourorganization}).
You can rename and delete your organization, or change the organization location. To learn more, see Manage organizations.

Enable GitHub invitations

Creating a new Azure DevOps organization with your GitHub username turns on the Invite GitHub users policy by default. For existing organizations, your administrator can turn on this capability via Organization settings > Policies tab.
Once the setting is changed, sign out of Azure DevOps, and then from a fresh browser session, sign back in to the organization dev.azure.com/{organizationName} or organizationName.visualstudio.com with your GitHub credentials. You're now recognized as a GitHub user and the GitHub invitation experience is available to you.
Invite GitHub users policy
For more information about GitHub authentication, see FAQs.

Create a project

If you signed up for Azure DevOps with a newly created Microsoft account (MSA), your project is automatically created and named based on your sign-in.
If you signed up for Azure DevOps with an existing MSA or GitHub identity, you're automatically prompted to create a project. You can create either a public or private project. To learn more about public projects, see What is a public project?.
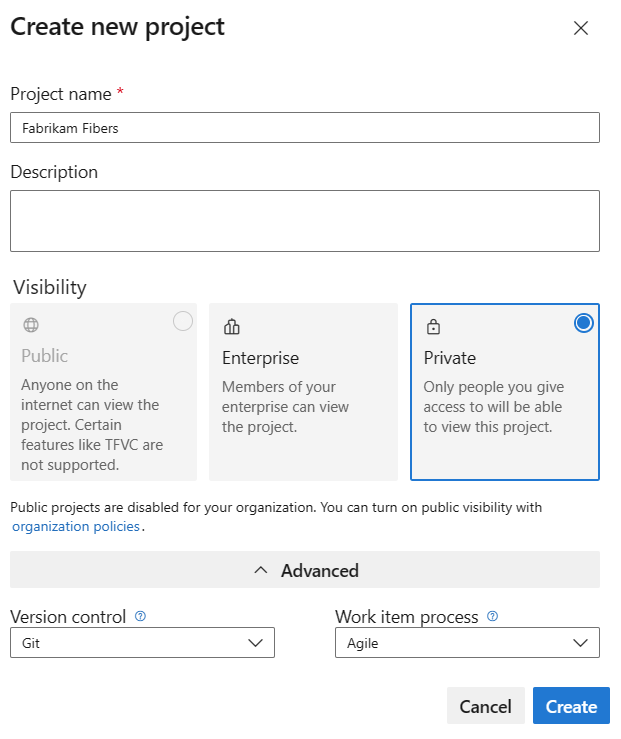
  1. Enter information into the form provided, which includes a project name, description, visibility selection, initial source control type, and work item process.
    Create project form ready for completion
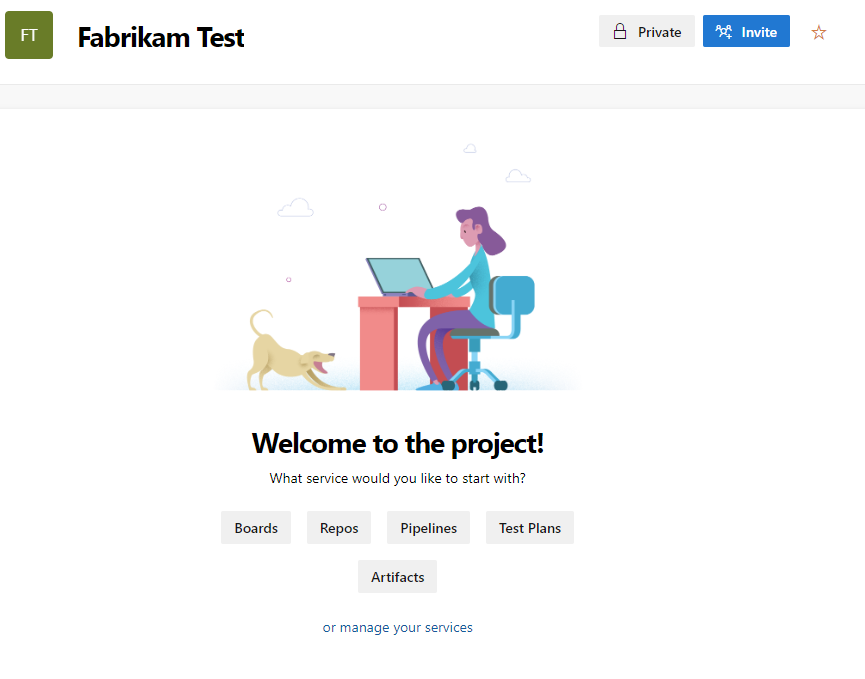
  2. When your project is complete, the welcome page appears.
    Project creation confirmation dialog, new nav

Invite team members

Give team members access to your organization by adding their email addresses or GitHub usernames to your organization. For GitHub user invitations, ensure you've enabled the policy, Invite GitHub users in Organization settings > Policies tab.
  1. Sign in to your organization (https://dev.azure.com/{yourorganization}).
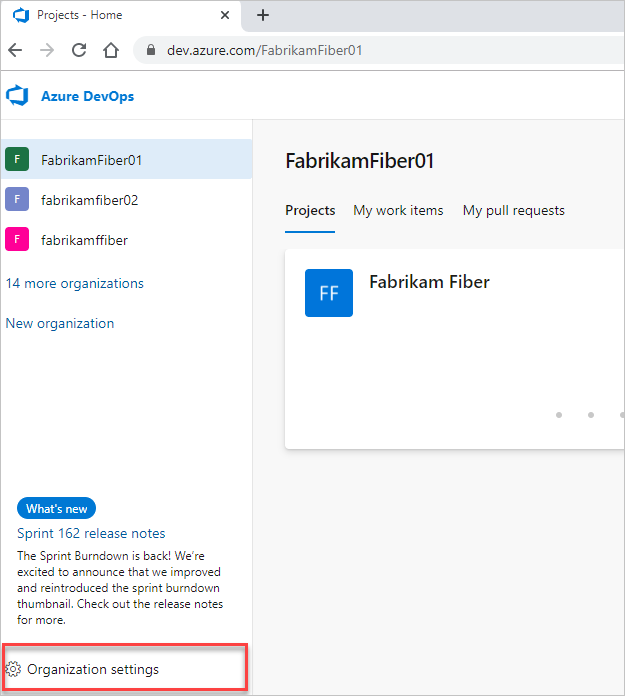
  2. Select Organization settings Organization settings.
    Open Organization settings
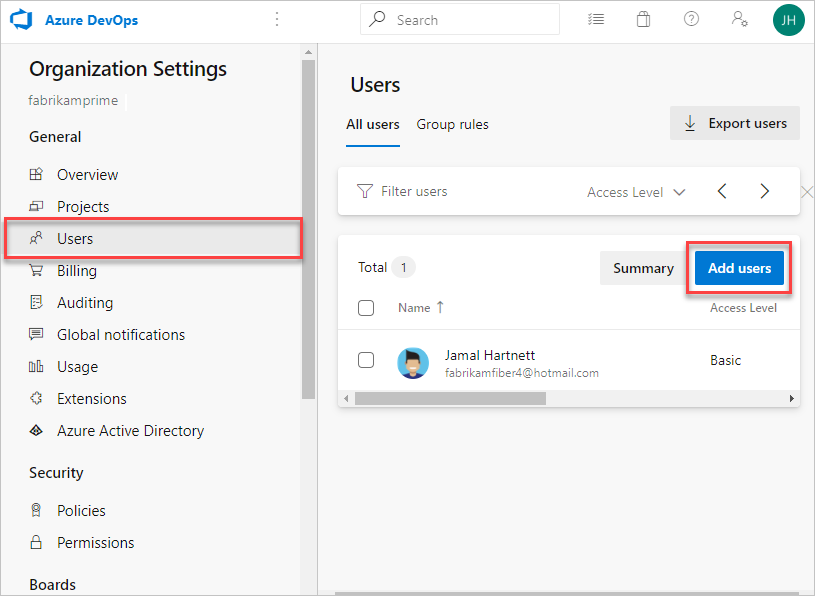
  3. Select Users > Add new users.
    Select Add users
  4. Enter the following information:
    • Users: Enter the email addresses (Microsoft accounts) or GitHub usernames for the users. You can add several email addresses by separating them with a semicolon (;). An email address appears in red when it's accepted.
    • Access level: Leave the access level as Basic for users who will contribute to the code base. To learn more, see About access levels.
    • Add to project: Select the project you want to add them to.
    • DevOps Groups: Leave as Project Contributors, the default security group for users who will contribute to your project. To learn more, see Default permissions and access assignments.
     Note
    Add email addresses for personal Microsoft accounts and IDs for GitHub accounts unless you plan to use Azure Active Directory (Azure AD) to authenticate users and control organization access. If a user doesn't have a Microsoft or GitHub account, ask the user to sign up for a Microsoft account or a GitHub account.
  5. When you're done, select Add to complete your invitation.

For more information about managing users and organization access, see Add organization users for Azure DevOps.