When you create an external data source, you can connect to another Salesforce org or a third-party database or content system. After you create the external data source, you can create an external object and add the external data source to the permission set.
| Available in: both Salesforce Classic and Lightning Experience |
|
| To create an external data source: | Customize Application |
| To create an external object: | Customize Application |
| To add the external data source to the permission set: | Customize Application |
- From Setup, enter External Data Sources in the Quick Find box, and select External Data Sources.
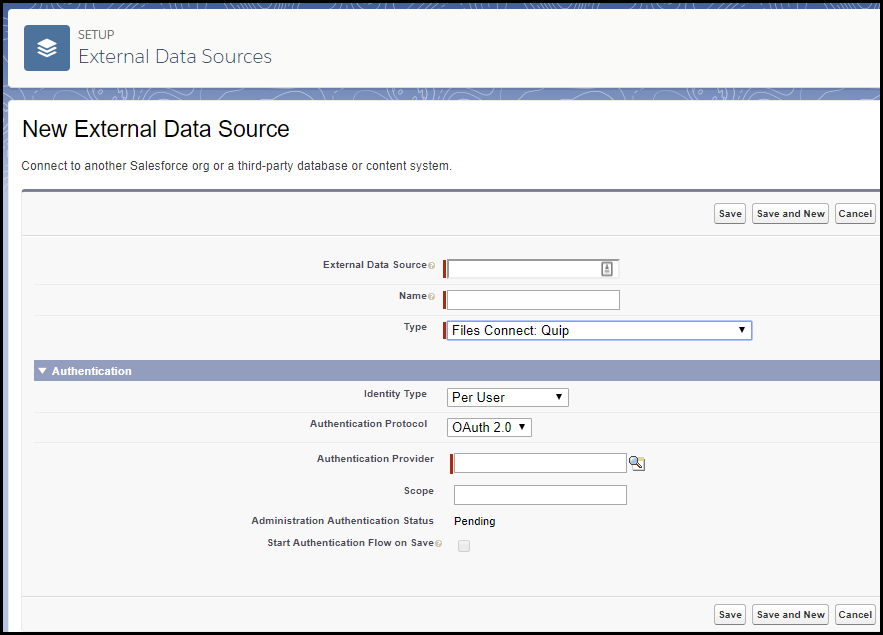
- Click New External Data Source.
- Complete the following fields, and click Save:
- Under External Data Source, enter a label and press Tab.
- Under Type, select Files Connect: Quip.
- Under Identity Type, select Per User or Named Principal, depending on your org or admin requirement.
- Under Authentication Protocol, select OAuth 2.0.
- Under Authentication Provider, click the Search icon and choose the Auth provider that you created earlier.
- Select Start Authentication Flow on Save.
- On the permissions page that appears, click Allow to give the Connector offline access.
The Administration Authentication Status on the External Data Source page changes from Pending to Authenticated.
- Create the external object.
- On the External Data Source page that you created, click Validate and Sync.
- Select the checkbox next to the item in the table, and click Sync.
- Add the external data source to the permission set.
- From Setup, enter Permission Sets in the Quick Find box, and select Permission Sets.
- Click the permission set that you created, click External Data Source Access, and click edit.
- Select the external data source from the Available External Data Sources field, add it to the Enabled External Data Sources field, and click Save.

No comments:
Post a Comment