How to setup Visual Studio Code for Salesforce ?
Visual Studio Code is the latest IDE for Salesforce Development and in this blog post, I am going to tell you how you can setup Visual Studio Code for Salesforce Development. So, let's begin.


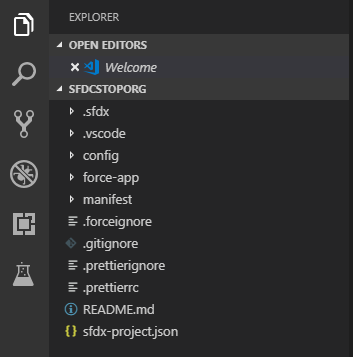
Your project will be created and you'll see the project structure in the left panel of VS Code which will be similar to the below image.

Now, we need to authorize an org. Press:- Ctrl + Shift + P and type Authorize an Org. Here, we're going to connect with our dev org or a sandbox instead of a dev hub or scratch org. You'll see the first option as:- Authorize an Org and press enter.

It'll automatically open your default browser and the login page where you can login with your org credentials. After logging in, Salesforce DX CLI will ask for the required permissions as shown in the below image, click Allow.

It'll give Salesforce DX CLI the required permissions and will open your org. Switch back to VS Code and you'll see a message similar to the below image:-
 As shown in the above image, you may now close the browser. Now, we've successfully authorized our org. The next step is to get all our classes, triggers and other required files in our IDE. To do so, open package.xml from the manifest subfolder present in the left pane. Right click anywhere in package.xml and click the option:- SFDX: Retrieve Source in Manifest from Org as shown in the below image:-

Download and Install VSCode
To download Visual Studio Code to your system, just go to:- https://code.visualstudio.com/ and you'll see an option to download VSCode for your system. I recommend you to download the stable build which is usually free from bugs, however, if you're keen to get the latest upcoming features before the world, you can download the insiders edition too.

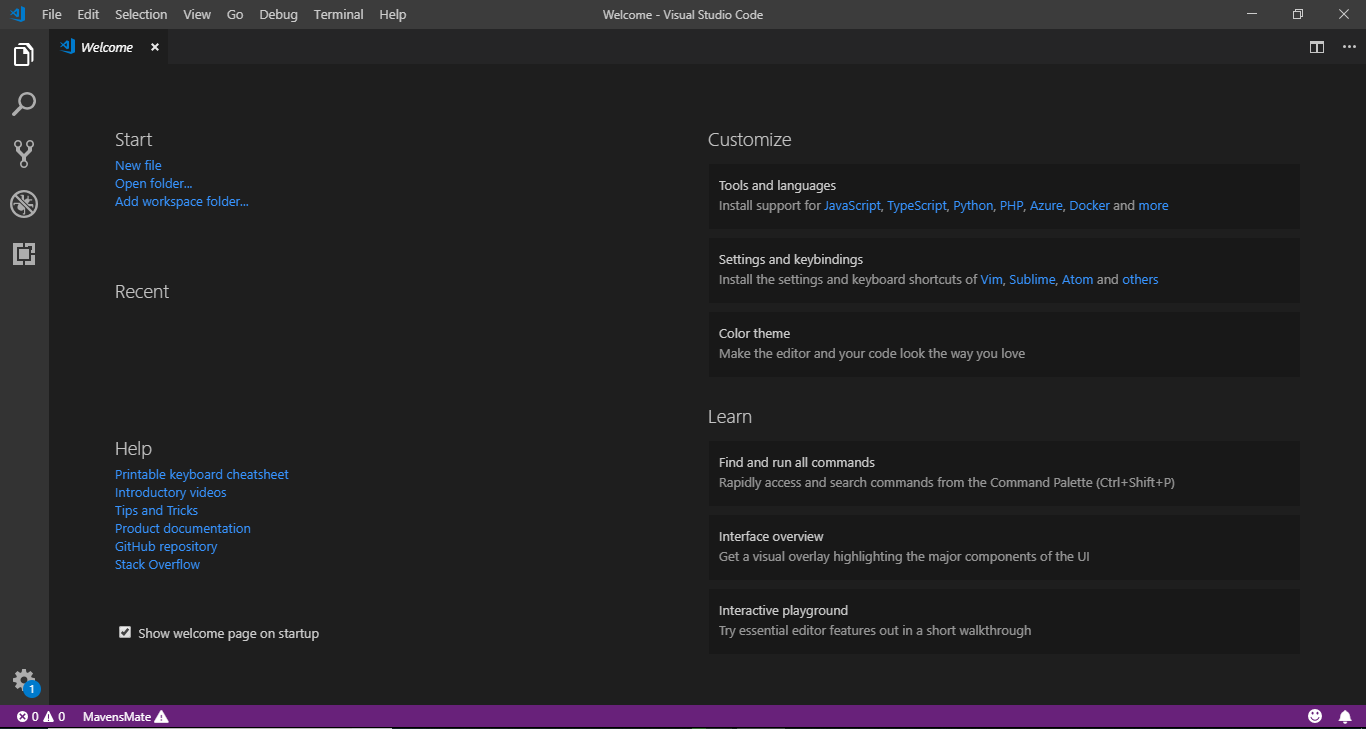
Download and install VSCode in your system and on opening, you'll see the welcome screen as shown below:-
Download and Install Salesforce DX CLI
Now, as we've installed VSCode in our system, the next step is to install Salesforce DX CLI. To install that, go to:- https://developer.salesforce.com/tools/sfdxcli and you'll see the page as shown below from where you can download the salesforce dx cli and install the same on your system.

Once you have sfdx cli installed, you can test it by opening the command window and typing sfdx and then pressing enter you should get the result similar to the one given in the below image:-

Cool. You've now properly installed Salesforce DX CLI in your system. Let's get to the next step.
Install Salesforce Extension Pack
In order to make our IDE Salesforce ready. Salesforce has made it's own extension pack available for developers. Once you open your VSCode IDE you can click on the 4th icon on the left hand sidebar menu which is for managing extensions. Search for Salesforce Extension Pack and click on the first search result as shown in the below image:-

I've already installed that in my VSCode IDE so it's giving me the option to disable or uninstall it however you'll see a green button with install written on it as shown in the other search results in the image, just click on that button and it'll install the Salesforce Extension Pack for you. Salesforce Extension pack consists of a number of extensions, all of which are published by Salesforce. The extension pack has the following extensions as of now which will be activated automatically as you install this pack:-
- Salesforce CLI Integration
- Apex
- Visualforce
- Aura Components
- Apex Interactive Debugger
- Apex Replay Debugger
- Lightning Web Components
Many more extensions can be added to this extension pack in future as it's officially maintained by Salesforce.
Salesforce Package.xml Generator Extension for VS Code
This extension provides a User Interface to choose metadata components for Package.xml file for development against sandboxes or DE orgs (Org Development Model with VS Code). This is similar to Eclipse Force.com IDE Add/Remove Metadata Components option.
|
Prerequisites
Before you set up Salesforce Package.xml Generator Extension for VS Code, make sure that you have these essentials.
|
Screenshots
  |
How to use?
|
Connecting with your Salesforce Org
Now, as you've installed Salesforce DX CLI, VS Code and all the required extensions, you're good to connect your IDE with your Salesforce Org. To do so, use command:- Ctrl + Shift + P or go to the View -> Command Palette and you'll see the command palette. Start writing:- Create Project with Manifest and press enter on the first option as shown below:-

In the next step, you need to enter the project name as shown below:-

Next, you need to select the location where you want the project to be created. Move to the desired location in the dialog box as shown below and click on Create Project

Your project will be created and you'll see the project structure in the left panel of VS Code which will be similar to the below image.
Now, we need to authorize an org. Press:- Ctrl + Shift + P and type Authorize an Org. Here, we're going to connect with our dev org or a sandbox instead of a dev hub or scratch org. You'll see the first option as:- Authorize an Org and press enter.

Next, we need to select the environment we need to connect to:-


You can connect to a sandbox or a production environment and even specify a custom url. Here, I am going to connect with my dev org which is a production environment for me. Just select your environment and press enter.
Now, we need to enter the org alias i.e. a familiar username for your org. I personally keep the same name which I have entered as the project name. In my case it's:- SFDCStopOrg. Just enter the alias as shown in the below image and press enter.

Now, we need to enter the org alias i.e. a familiar username for your org. I personally keep the same name which I have entered as the project name. In my case it's:- SFDCStopOrg. Just enter the alias as shown in the below image and press enter.

It'll automatically open your default browser and the login page where you can login with your org credentials. After logging in, Salesforce DX CLI will ask for the required permissions as shown in the below image, click Allow.

It'll give Salesforce DX CLI the required permissions and will open your org. Switch back to VS Code and you'll see a message similar to the below image:-


It'll retrieve all the metadata from your org which is specified in your package.xml file. For more information on how to create your package.xml, you can refer to the official salesforce documentation here:- https://developer.salesforce.com/docs/atlas.en-us.api_meta.meta/api_meta/manifest_samples.htm
Once, you've fetched all the data, you can see it under the force-app folder in the respective subfolders as shown below:-

We can open any class, lightning component, vf page or any other metadata by simply clicking on it and it'll show in the VS Code Editor as shown in the below image:-

You can do your changes and push the required changes to your org by right clicking and selecting:- SFDX: Deploy This Source to Org option. Similarly, to fetch the updated file from org to VS Code IDE, you can select SFDX: Retrieve This Source from Org. In order to get the whole org's refresh just move on to your package.xml, right click and select SFDX: Retrieve Source in Manifest from Org option.
This is really an amazing post, Thanks for sharing!!
ReplyDeleteDevOps Training
DevOps Online Training
Excellent Post on AWS.
ReplyDeleteAWS Training in Chennai | AWS Training Institute in Chennai
Great article, thank you for sharing the information.
ReplyDeleteBest DevOps And NetOps Services Company/a>