The following licenses are used for external users: Customer Community, Customer Community Plus, Partner Community, External Apps, External Identity, and Channel Account.

| LICENSE NAME | BEST USED FOR | COMPARABLE PORTAL LICENSE |
|---|---|---|
| External Apps | Custom digital experiences to engage any external stakeholder, including Brand Engagement and Customer Loyalty. Limited access to CRM objects. The External Apps license can be used with person accounts.  NOTE Each
External Apps (Members) subscription entitles the
permitted number of member Users access to all
such Communities within the same
Org. | High Volume Customer Portal, Service Cloud Portal, Authenticated Sites Portal |
| Customer Community | Business-to-consumer experiences with large numbers of external users who need access to case objects or knowledge. The Customer Community can be used with person accounts. | High Volume Customer Portal, Service Cloud Portal, Authenticated Sites Portal |
| Customer Community Plus | Business-to-consumer experiences with external users who need access to reports and dashboards and need advanced sharing. The Customer Community Plus can be used with person accounts. | Customer Portal — Enterprise Administration, Customer Portal Manager Standard, Customer Portal Manager Custom |
| Partner Community | Business-to-business experiences that need access to sales data such as partner relationship management. The Partner Community can’t be used with person accounts. | Gold Partner |
| Channel Account | Business-to-business sites and portals that calculate their usage based on number of partners instead of number of individual users. | Gold Partner |
steps for Salesforce Community Implementation
Steps to enable communities:-
Step 1.) From Setup, search for communities setting and click on it.

Step 2.) Click on New Community button to create a new community.

Step 3.) As soon as you select the checkbox, a new section would be prompted to select a domain name. Remember, always choose your domain name very carefully, as once domain name is created it CANNOT be changed.
Yeah! that’s right, you can’t change your domain name once it is created.

After selecting domain name, click save and you are done.
Great! Now you can create multiple communities depending upon your license.
Steps to create a community:-
Once you have enabled the community, you can go ahead and create a new community and make it ready for customer use.
Let’s see what are the steps you need to perform to create a community from the scratch.
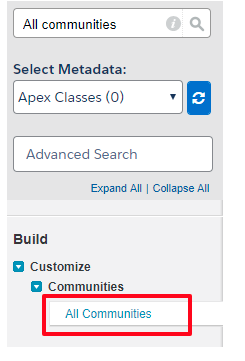
Step 1.) From setup, search for ‘All communities’ and select it.
Step 2.) Click on New Community button to create a new community.
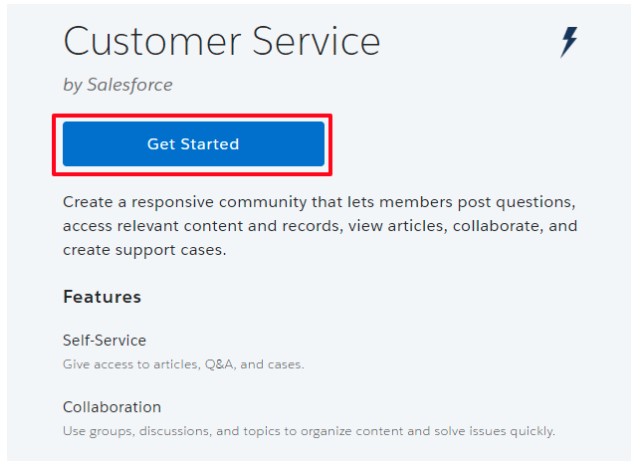
Step 3.) The page shows the different predefined templates which you can use for your community depending upon your requirement. For example: If you are creating this community for customer support you can select Customer Service template OR if the community is meant for the portal user, select customer Account portal template. If you want to use your Standard or Custom objects in your community, you can go for Salesforce Tabs + Visualforce template. Also, if you want you can make and design your own templates.

Step 4.) After selecting the template, click on Get Started on next page.
Step 5.) Give a name to your community and provide a unique value at the end of the URL and click on Create button.

NOTE:- If you have multiple communities, you can create only one community that does not have a custom URL. Since the domain name is same for all communities, so a custom URL path differentiates them.
Hurray!! Congratulations, just now you have created a brand new Community in your Salesforce Org.
Now you would be redirected to the community workspace i.e. from workspace you can build and customize your community pages and its look and feel. You can manage the members of community.
Now the only thing you need to do is to activate the community and publish it so that everyone can use it to whom you want to use.
Activate the Community:-
To activate the community:-
Step 1.) Search for All Communities in setup, and click on it.
Step 2.) Click on Workspaces.

Step 3.) Select ‘Administration’.

Step 4.) Under ‘Setting’ section in left panel, click on Activate Community button.

Now, your community has been activated. But you need to publish the community.
Publish the Community:-
Step 1.) Search for All Communities in setup, and click on it.
Step 2.) Click on Workspaces.
Step 3.) Select Builder.

Step 4.) Click on Publish button on the top right corner of builder.

Now, your community is ready to use.
IMPORTANT:- After you create the community, your profile is now added to the list of available members to use community. So, it might possible that your profiles is being assigned to other users also, so they can also access community.
No comments:
Post a Comment